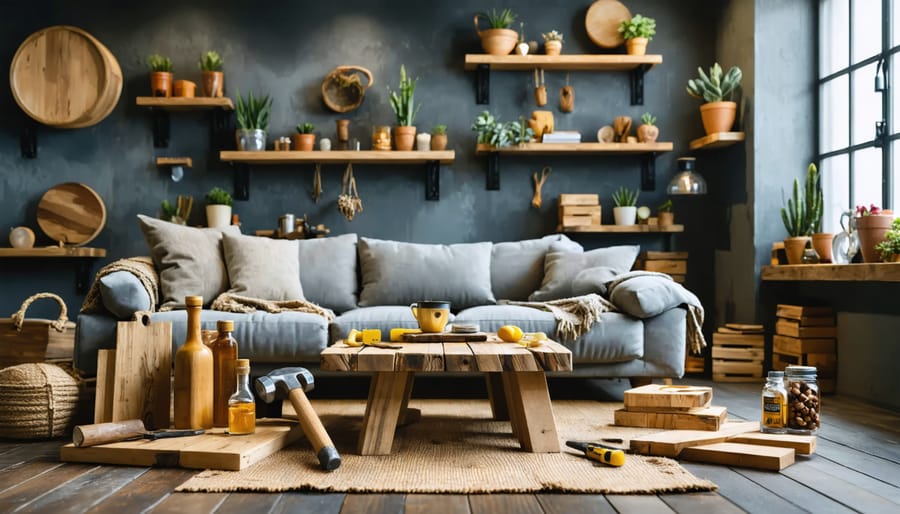
Transform your living space with the timeless appeal of handcrafted wooden decor, combining rustic charm with modern functionality. Whether you’re ready to transform old furniture or create striking wall art, DIY wood projects offer endless possibilities for personalizing your home. From simple floating shelves to statement piece coffee tables, working with wood allows you to craft unique pieces that reflect your style while saving money. This comprehensive guide walks you through essential techniques, must-have tools, and inspiring projects suitable for both beginners and intermediate craftspeople. Learn how to select the right wood, master basic joinery, and apply professional-quality finishes that ensure your creations last for generations. Discover how sustainable materials and traditional woodworking methods can create contemporary designs that add warmth and character to any room.
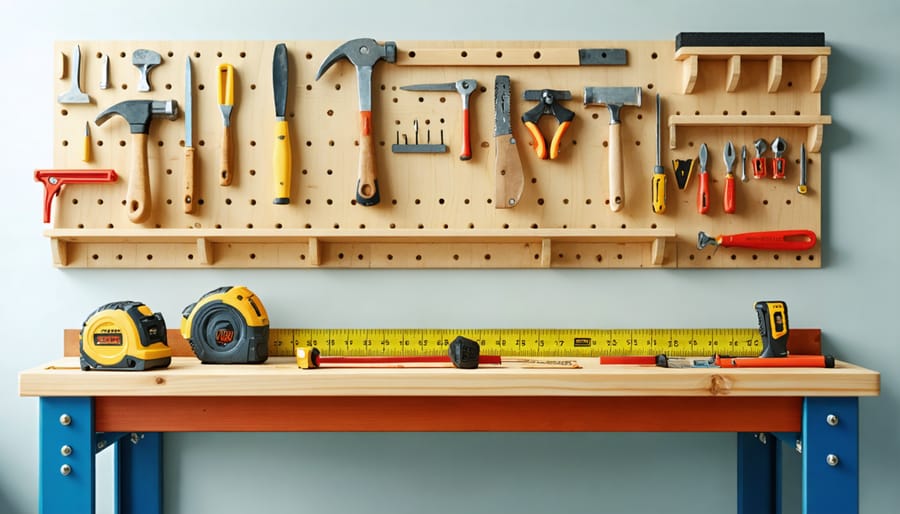
Before diving into your first DIY wood project, you’ll need to gather some essential tools. A quality measuring tape and pencil are crucial for accurate marking and cutting. Invest in a reliable hand saw or circular saw for basic cutting tasks – beginners often find a hand saw more manageable and safer to use. A cordless drill with various drill bits will be indispensable for joining pieces together and creating pilot holes.
For sanding, start with a basic orbital sander and various grits of sandpaper (80, 120, and 220). Include a sturdy workbench or table in your setup, along with quality wood clamps to hold pieces steady while working. A carpenter’s square ensures accurate 90-degree angles, while a level helps maintain proper alignment in your projects.
Safety equipment is non-negotiable: protective eyewear, work gloves, and a dust mask are absolute must-haves. A good set of screwdrivers, both Phillips and flathead, along with a hammer and wood glue, round out your basic toolkit. Consider adding a chisel set and utility knife for detail work as you progress in your woodworking journey.
Selecting the right wood for your DIY projects is crucial for both aesthetics and durability. For beginners, pine offers an excellent starting point due to its affordability and easy workability. It’s perfect for rustic shelving and simple decorative pieces, though it may dent easily.
For more refined projects, oak and maple provide superior durability and beautiful grain patterns. Oak’s distinctive texture makes it ideal for statement pieces like coffee tables or picture frames, while maple’s smooth, uniform appearance works well for modern decorative elements.
Cedar and redwood are excellent choices for outdoor decor due to their natural resistance to weather and insects. Consider these for garden planters or porch decorations.
For smaller, detailed projects like decorative boxes or wall art, hardwoods like walnut or cherry offer rich colors and fine graining. While these woods are more expensive, they deliver premium results that can become family heirlooms.
Remember to always choose kiln-dried lumber to prevent warping and splitting in your finished pieces. Local lumber yards often provide better quality and selection than big box stores, and many offer cutting services for easier transport.
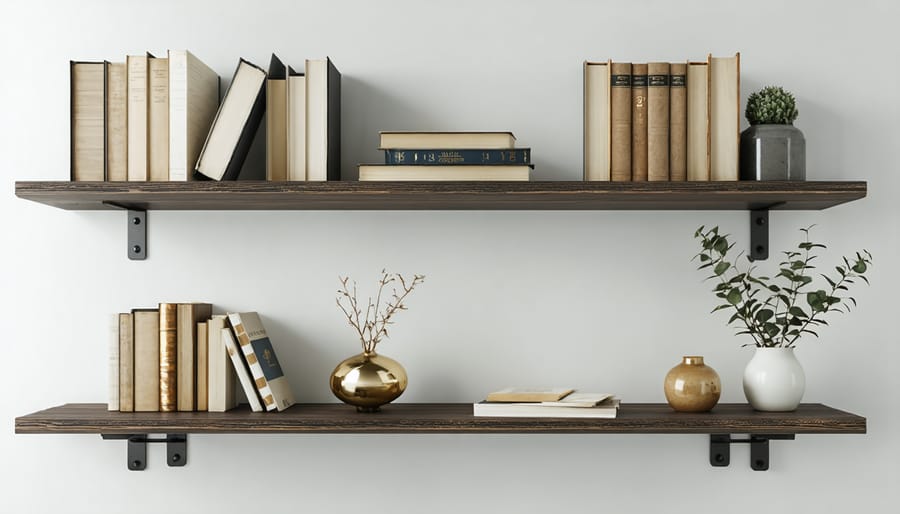
Transform your walls with these elegant floating shelves that appear to defy gravity. This project combines modern aesthetics with practical storage solutions, perfect for displaying cherished items or organizing your space.
Materials needed:
– 2×6 or 2×8 lumber (length as desired)
– 3/8″ steel rods
– Wood glue
– Wood finish of choice
– 2″ wood screws
– Wall anchors
– Level
– Power drill with bits
Start by cutting your lumber to desired shelf lengths. For each shelf, drill three evenly spaced holes on the back edge for the steel rods. These will serve as your hidden support system. Make corresponding holes in your wall, ensuring you hit wall studs or use appropriate anchors.
Cut steel rods to size, allowing them to extend 4-5 inches into the shelf and wall. Apply wood glue inside the shelf holes, then insert the rods. Let dry completely.
Sand your shelves thoroughly, progressing from medium to fine-grit sandpaper. Round the edges slightly for a polished look. Apply your chosen finish in thin, even coats, allowing proper drying time between applications.
Mark your wall measurements carefully, using a level to ensure perfect alignment. Insert the mounted rods into the wall holes, applying construction adhesive for extra security. Slide the shelf onto the rods, ensuring it sits flush against the wall.
For best results, allow 24 hours before placing items on your new floating shelves. Each shelf can typically support 30-40 pounds when properly installed.
Creating rustic picture frames is one of the most rewarding vintage-inspired wood projects you can tackle. Start by selecting reclaimed wood or new lumber with character, such as pine or cedar. For a standard 8×10 frame, cut four pieces at 45-degree angles, making the outer dimensions approximately 11×13 inches. Sand all pieces thoroughly, starting with 80-grit sandpaper and working up to 220-grit for a smooth finish.
To assemble the frame, apply wood glue to the mitered corners and secure them with corner clamps. Reinforce each corner with small finishing nails or a brad nailer. Once the glue dries, use a router with a rabbet bit to create a recess along the back inner edge to hold the glass, photo, and backing board.
For that authentic rustic appeal, distress the wood using techniques like wire brushing or gentle hammer taps. Apply your chosen finish – we recommend a mix of dark walnut stain followed by a clear matte polyurethane for protection. Install the frame backing using offset clips, and add a sawtooth hanger or wire for mounting.
Pro tip: Create a simple jig for consistent miter cuts by clamping a stop block to your miter saw. This ensures all your frame pieces match perfectly, resulting in professional-looking corners every time.
Create stunning geometric wall art by transforming simple wooden pieces into a sophisticated focal point for any room. Begin by selecting a variety of 1×4 pine boards, cutting them into segments ranging from 6 to 24 inches. You’ll need approximately 15-20 pieces for a medium-sized display.
Arrange your cut pieces on a flat surface, experimenting with different geometric patterns until you find a design that speaks to you. Popular arrangements include sunburst patterns, hexagonal shapes, or asymmetrical modern designs. Once satisfied, sand each piece thoroughly with 120-grit sandpaper, followed by 220-grit for a smooth finish.
Before assembly, stain or paint your wooden pieces in your chosen colors. Consider using a combination of natural wood stains and bold paint colors for visual contrast. Allow all pieces to dry completely before moving forward.
Create a backing frame using 1×2 boards cut to your desired overall size. Arrange your geometric pieces on the frame and secure them using wood glue and brad nails. For added stability, attach a picture wire or sawtooth hangers to the back of the frame.
As a finishing touch, apply a clear polyurethane coating to protect your artwork and enhance its natural beauty. This project typically takes 4-6 hours to complete and costs between $30-50 in materials, making it an affordable way to add custom artwork to your home.
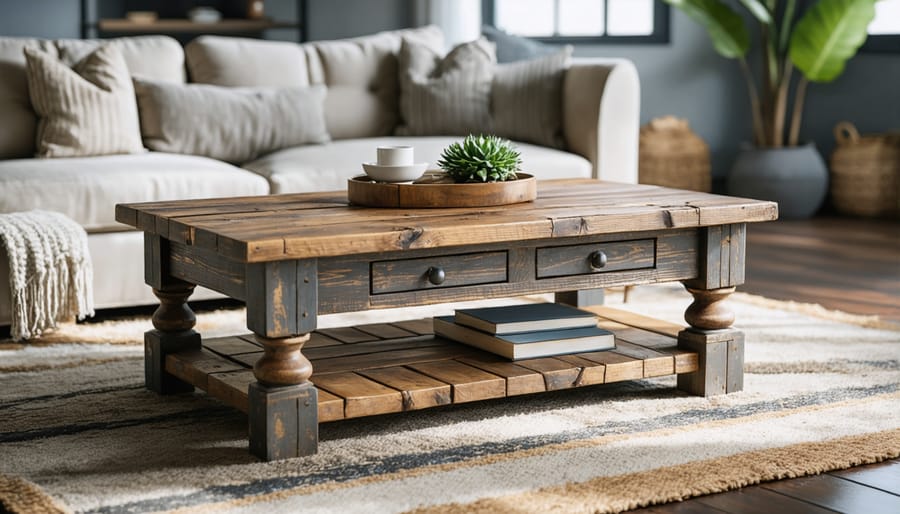
Transform your living space with this charming farmhouse coffee table project that combines rustic appeal with practical functionality. This intermediate-level build requires approximately 4-6 hours to complete and uses readily available materials.
Materials needed:
– 4×4 lumber for legs (4 pieces at 18″ each)
– 2×6 lumber for tabletop (6 pieces at 48″ each)
– 2×4 lumber for support frame (4 pieces)
– Wood screws (2.5″ and 1.5″)
– Wood glue
– Sand paper (80 and 120 grit)
– Wood stain of choice
– Polyurethane finish
Start by cutting your lumber to size. For the tabletop, arrange the 2×6 boards side by side and ensure they’re flush. Create pocket holes along the edges where boards meet, then join them using wood glue and screws. Allow this assembly to dry completely.
While the tabletop dries, construct the base frame using 2x4s. Cut two pieces at 44″ for the length and two at 20″ for the width. Join these in a rectangle using pocket holes and screws. Sand any rough spots smooth.
Next, attach the 4×4 legs to each corner of the frame. Pre-drill holes to prevent splitting, then secure with 2.5″ screws from both directions. Ensure legs are perfectly square using a carpenter’s level.
Once the tabletop is dry, sand it thoroughly, starting with 80-grit sandpaper and finishing with 120-grit for a smooth surface. Attach the tabletop to the base frame using screws from underneath, ensuring they won’t be visible from above.
Apply your chosen wood stain following the manufacturer’s instructions, typically using a clean cloth or brush. Allow it to dry completely, then apply 2-3 coats of polyurethane finish, sanding lightly between coats.
Pro tip: Add character to your table by distressing the wood before staining. Use chains, hammers, or other tools to create authentic-looking wear marks that enhance the farmhouse aesthetic.
Built-in bookshelves add both functionality and architectural interest to any room while maximizing vertical storage space. This project requires intermediate woodworking skills and careful planning, but the result is a custom piece that looks like it’s always been part of your home.
Start by measuring your wall space and sketching your design. Consider the height of your ceiling, any baseboards or crown molding, and the depth you want for your shelves. Standard bookshelf depth is 12 inches, but you may want deeper shelves for larger items or shallower ones for smaller spaces.
Materials needed:
– 3/4″ plywood for the main structure
– 1×2 lumber for facing
– Crown molding (if desired)
– Wood glue
– Finishing nails
– Wood putty
– Primer and paint or wood stain
– Construction adhesive
Begin by removing baseboards and marking wall studs. Create a base frame using 2x4s anchored to the wall studs. Cut vertical support pieces from plywood, ensuring they’re perfectly plumb. Install these supports, securing them to both the base frame and wall studs.
Cut your shelf pieces to size, accounting for the facing that will be added later. Space shelves according to your design, using a level to ensure perfect alignment. Secure each shelf with wood glue and finishing nails. Add vertical dividers if desired for additional support and visual interest.
Install the facing pieces using wood glue and brad nails, covering all exposed plywood edges. Fill nail holes with wood putty and sand smooth. If adding crown molding, install it at the top for a polished look.
Finally, prime and paint your built-in to match your trim, or stain it to highlight the wood’s natural beauty. Consider adding lighting or decorative hardware as finishing touches to enhance both functionality and aesthetics.
To ensure your DIY wood decor pieces stand the test of time, proper finishing and maintenance are essential. Start by thoroughly sanding your completed project with progressively finer grits of sandpaper until the surface feels smooth to the touch. For optimal results, apply these furniture finishing techniques in a well-ventilated area.
Choose a finish that suits both your aesthetic preferences and the piece’s intended use. For high-traffic items, consider polyurethane for its durability and water resistance. For decorative pieces, Danish oil or beeswax can provide a natural, warm glow while protecting the wood. Apply multiple thin coats rather than one thick layer, allowing proper drying time between applications.
To maintain your wooden decor, dust regularly with a soft, lint-free cloth. Avoid placing items in direct sunlight or areas with high humidity, as these conditions can cause warping or discoloration. Clean spills immediately to prevent staining, and refresh the protective finish annually or when the surface begins to look dull.
For pieces with moving parts, such as boxes or frames, periodically check and tighten any hardware. If you notice scratches or wear, light sanding and touch-up applications of finish can restore the piece’s appearance. With proper care, your DIY wood decor will remain beautiful for years to come.
DIY wood projects offer an incredible opportunity to transform your living space while developing valuable skills and saving money. By creating custom pieces that perfectly match your style and needs, you’re not just decorating – you’re crafting lasting memories and heirlooms. Whether you’re starting with simple floating shelves or working up to more complex furniture pieces, these DIY home decor ideas allow you to take pride in your craftsmanship while adding unique character to your home. Remember, every master woodworker started with their first project. With the right tools, proper safety measures, and a bit of patience, you can begin your woodworking journey today. Don’t be afraid to start small and gradually tackle more challenging projects as your confidence grows. The satisfaction of creating something beautiful with your own hands is truly unmatched.