Transform worn leather furniture into pristine condition with professional-grade leather repair filler, the go-to solution for fixing cracks, tears, and gouges. Master essential leather repair techniques by selecting color-matched compounds, preparing damaged areas with gentle cleaning, and applying thin layers for seamless restoration. Advanced leather fillers bond permanently with the original material, maintaining flexibility while providing structural support that withstands daily use. Whether addressing minor scratches or significant damage, these specially formulated compounds restore both the aesthetic appeal and functional integrity of leather surfaces, delivering results that rival factory finishes.
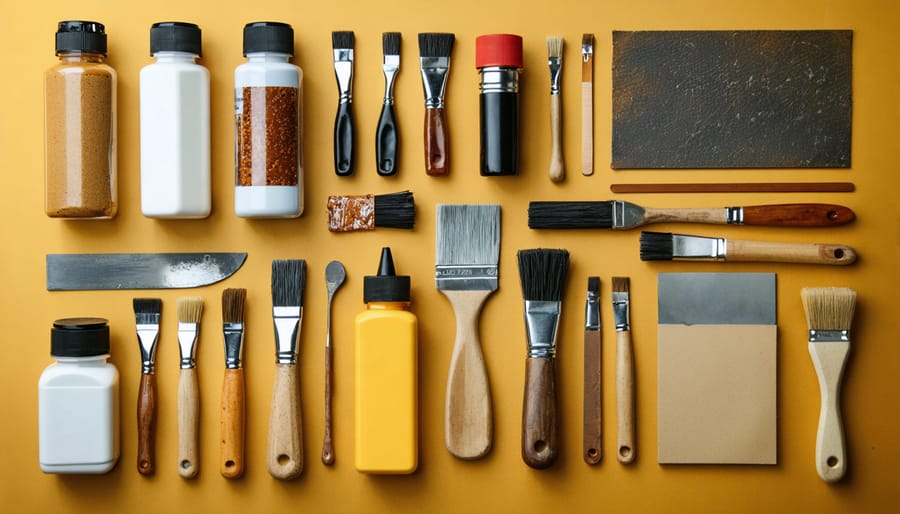
Leather repair fillers come in several formulations, each designed for specific types of damage and leather finishes. Heavy-duty compound fillers work best for deep cracks and tears, providing excellent structural support while maintaining flexibility. These are typically available in ready-to-use tubes or as two-part mixtures that require combining before application.
For surface-level scratches and small imperfections, liquid leather fillers offer an ideal solution. These lighter-weight options blend seamlessly with the surrounding material and are particularly effective on finished leather surfaces. Color-matched paste fillers bridge the gap between heavy compounds and liquid options, offering medium coverage for moderate damage while ensuring proper color integration.
Professional-grade thermal fillers require heat activation and provide superior durability for high-wear areas. These specialized products bond permanently with the leather fibers, creating a lasting repair that can withstand regular use. For vintage and delicate leather items, water-based fillers offer a gentle yet effective solution, minimizing the risk of further damage while restoring the leather’s appearance.
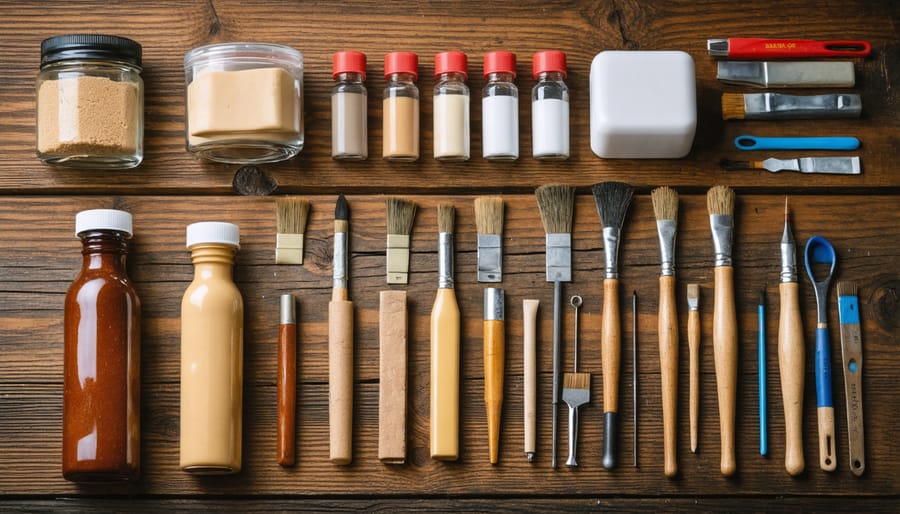
Each filler type comes in various colors or can be custom-tinted to match your leather’s specific shade, ensuring a professional-looking repair every time.
Leather repair filler is ideal for addressing specific types of damage that occur in leather furniture and accessories. It’s particularly effective for filling deep gouges, holes smaller than a quarter-inch, and surface-level tears. When pets repair cat scratches in leather furniture, filler can restore the surface smoothness. Use it to fix cigarette burns, punctures from sharp objects, or areas where the leather has worn thin and cracked. Filler works best on genuine leather items where the damage doesn’t affect the structural integrity of the piece. However, it’s not suitable for extensive tears, large holes, or damage along seams and stress points. Always assess the extent of damage before deciding if filler is the appropriate solution for your leather repair project.
Proper surface preparation is crucial for achieving professional-quality leather repairs. Begin by thoroughly cleaning the damaged area with a leather-specific cleaner and a soft, lint-free cloth to remove dirt, oils, and residues. Allow the surface to dry completely before proceeding.
Next, carefully inspect the damaged area and gently sand rough edges using fine-grit sandpaper (220-400 grit). This creates a smooth transition between the damaged and undamaged leather while providing better adhesion for the filler. Be careful not to over-sand, as this can cause additional damage.
If the damage includes loose or fraying edges, trim them neatly with sharp scissors to create clean boundaries. For deep cracks or holes, ensure the surrounding area is stable and free from additional damage that could compromise the repair.
Before applying the filler, use denatured alcohol to remove any remaining debris and degrease the surface. This final cleaning step ensures optimal bonding between the leather and repair compound. Once the alcohol evaporates completely, the surface is ready for filler application.
Remember to protect surrounding areas with masking tape to prevent accidental contact with the repair materials.
Begin by thoroughly cleaning the damaged area with a leather cleaner and allowing it to dry completely. Apply the leather filler in thin layers using a plastic spatula, making sure each layer is fully dry before adding the next. For deep cracks or tears, you may need 2-3 layers to achieve the proper height.
Once the final layer is almost dry but still slightly taceable, use a texturing tool or grain paper to match the surrounding leather’s pattern. Press gently to create authentic-looking grain marks. For smooth leather, use a flat spatula to level the surface.
After texturing, allow the filler to cure completely for 24 hours. During this time, avoid contact with the repaired area. Once cured, apply a color-matched leather dye or paint to blend the repair with the surrounding material. Finish with a leather sealant to protect the repair and ensure durability.
For optimal results, work in a well-ventilated area and maintain a room temperature between 65-75°F during application. Keep the repaired area away from direct sunlight until fully cured.
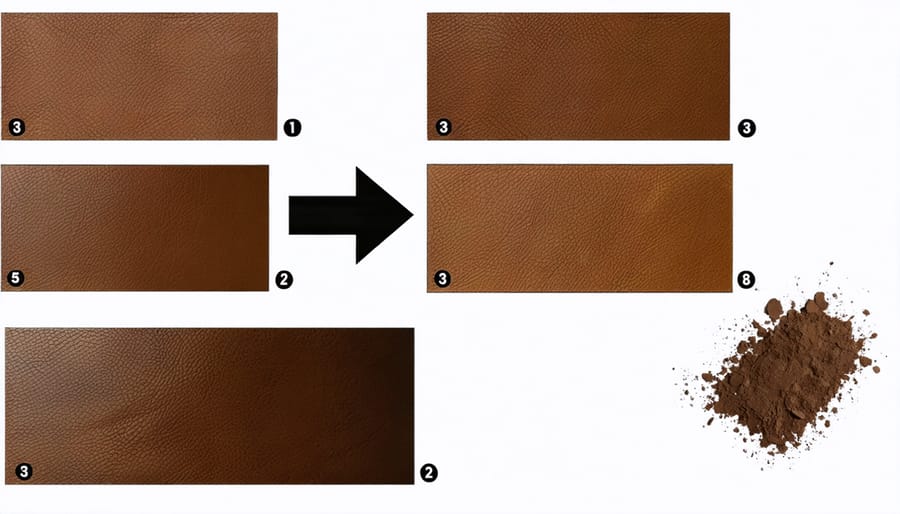
After filling the damaged area, achieving a perfect color match is crucial for a professional-looking repair. Start by testing the leather dye or colorant on a small, inconspicuous area to ensure compatibility. Mix different shades if necessary to match the original leather color precisely. For best results, apply the colorant in thin layers, allowing each layer to dry completely before adding the next.
Once you’ve achieved the desired color match, seal the repair with a leather finish coat. This protective layer not only safeguards your repair work but also helps match the surrounding leather’s sheen. For heavily used areas, consider applying multiple thin coats of sealant, letting each layer cure fully. The final result should be virtually indistinguishable from the surrounding leather, both in color and texture.
When working with leather repair filler, even small mistakes can lead to unsatisfactory results. Based on our extensive experience, here are the most common pitfalls to avoid and how to prevent them.
Rushing the preparation process is a frequent error. Always clean and thoroughly dry the damaged area before applying filler. Skipping this step can lead to poor adhesion and premature failure of the repair.
Using too much filler in one application is another common mistake. It’s better to build up the repair in thin layers, allowing each layer to dry completely. This approach prevents shrinkage and cracking while ensuring a more durable repair.
Color matching errors often occur when people don’t test the mixed filler on an inconspicuous area first. Remember that leather filler typically dries slightly darker than it appears when wet. Take time to achieve the right color before applying it to the visible damage.
Many DIY enthusiasts forget to properly texture the repair to match the surrounding leather. Each type of leather has its unique grain pattern, and failing to replicate it will make the repair obvious.
Temperature and humidity can significantly affect drying time. Working in extremely cold or humid conditions can prevent proper curing of the filler. Ensure you’re working in a controlled environment between 65-75°F with moderate humidity.
Lastly, avoid touching or using the repaired area too soon. While the surface might feel dry, complete curing can take 24-48 hours. Premature use can compromise the repair’s integrity and appearance.
After successfully repairing leather with filler, proper maintenance is crucial for ensuring long-lasting results. To maintain leather furniture, start by keeping repaired areas clean and free from dust using a soft, dry cloth. Avoid using harsh chemical cleaners, as these can break down the repair compound and damage the surrounding leather.
Apply a leather conditioner every 3-4 months to prevent the repaired area and surrounding leather from drying out and cracking. When conditioning, use gentle circular motions and pay special attention to high-wear areas. Allow the conditioner to fully absorb before using the furniture.
Protect repaired sections from direct sunlight and heat sources, as excessive exposure can cause the filler to soften or deteriorate. Position furniture away from windows or use UV-protective window films. Keep pets away from repaired areas until the filler has completely cured, typically 48-72 hours after application.
Regular inspection of repaired areas helps identify potential issues before they become serious problems. Check for any signs of separation between the filler and leather, color changes, or wear patterns. Address any concerns promptly to prevent further damage and maintain the professional appearance of your restored leather pieces.
For optimal results, consider scheduling professional maintenance checks annually, especially for frequently used furniture pieces or commercial installations.
Leather repair filler can be an effective solution for minor damage, but achieving professional-looking results requires careful consideration of product selection, preparation, and application techniques. While DIY repairs are possible for small imperfections, complex repairs involving extensive damage, valuable furniture, or antique pieces often warrant professional expertise. Licensed furniture repair specialists have access to professional-grade materials and possess the experience necessary to match colors and textures precisely. They can also assess the leather’s condition and recommend the most appropriate repair method for long-term durability. Whether you choose to tackle the repair yourself or seek professional help, remember that proper preparation and patience are key to achieving satisfactory results. For the best outcome, don’t hesitate to consult with a furniture restoration expert, especially when dealing with cherished or high-value leather items.