Mastering basic home repair skills saves thousands in contractor fees while empowering homeowners to maintain their biggest investment with confidence. From fixing leaky faucets to patching drywall, fundamental repair knowledge transforms anxious homeowners into capable household problem-solvers. Understanding when to tackle projects yourself – and when to call professionals – prevents costly mistakes and ensures home safety.
Armed with a basic tool kit and essential skills, homeowners can handle up to 70% of common household repairs, typically saving $1,000-3,000 annually on maintenance costs. These foundational abilities not only protect property value but also provide immediate solutions when issues arise, preventing minor problems from escalating into major expenses.
This guide covers essential repair skills every homeowner should master, from basic plumbing and electrical troubleshooting to simple carpentry fixes. Learn which repairs are DIY-appropriate, which tools you’ll need, and how to tackle common household problems with professional-grade results.
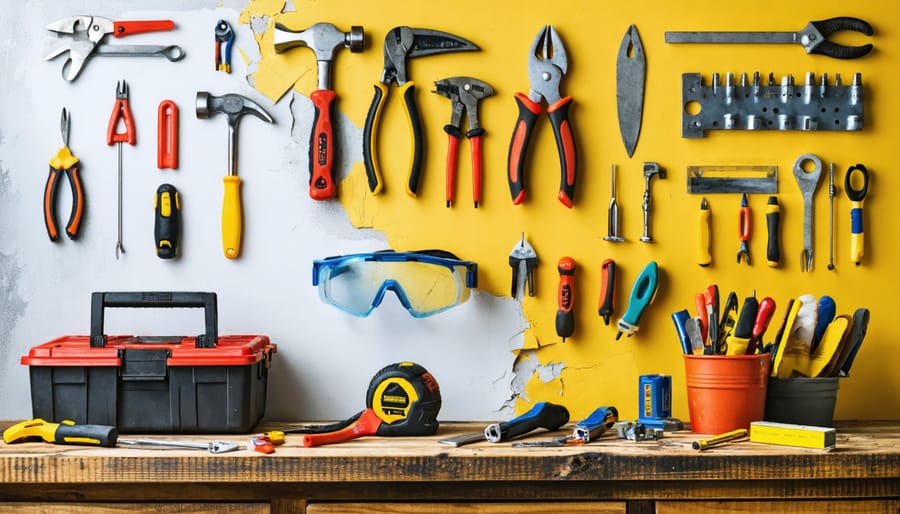
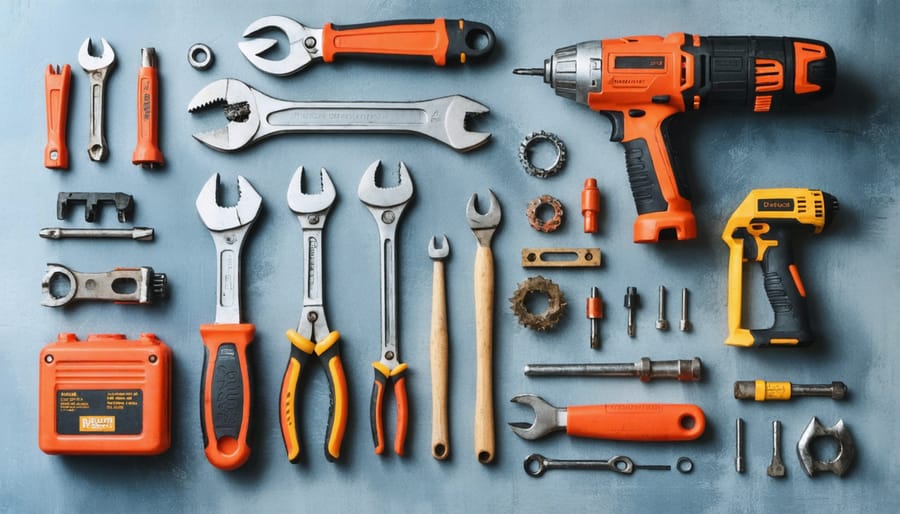
Every DIY enthusiast needs a well-stocked toolbox to tackle basic home repairs effectively. Start with a quality hammer, both flathead and Phillips head screwdrivers in various sizes, and an adjustable wrench. A pair of needle-nose pliers and channel-lock pliers will help you grip and manipulate materials with precision.
Include a utility knife with replacement blades, a tape measure, and a level to ensure accurate measurements and straight installations. A cordless drill with basic drill bits is invaluable for countless repair tasks. Don’t forget safety equipment: protective goggles, work gloves, and a dust mask are essential for protecting yourself during repairs.
For quick fixes, keep a selection of screws, nails, wall anchors, and wood glue on hand. A voltage tester is crucial for any electrical work, helping you verify power is off before beginning repairs. Finally, invest in a sturdy toolbox or tool bag to keep everything organized and easily accessible.
Remember, quality tools are an investment that pays off through years of reliable service. While professional-grade tools aren’t always necessary, avoid the cheapest options as they may break when you need them most.
Before starting any home repair project, equipping yourself with proper safety gear is essential. Start with a pair of impact-resistant safety glasses to protect your eyes from dust, debris, and flying particles. A well-fitted dust mask or respirator is crucial when working with materials that produce fine particles or strong fumes.
Protect your hands with work gloves appropriate for the task – leather gloves for rough materials, rubber gloves for chemical handling, and cut-resistant gloves for sharp tools. Steel-toed boots or sturdy closed-toe shoes provide necessary foot protection, especially when working with heavy materials.
Keep a first aid kit readily accessible in your work area, stocked with bandages, antiseptic wipes, and basic medical supplies. When working with power tools or electrical repairs, ensure you have proper ear protection and rubber-soled shoes for insulation.
Remember to inspect all safety equipment before use and replace any damaged items immediately. Proper maintenance of safety gear is just as important as having it – clean your equipment regularly and store it in a dry, accessible location.
A wobbly chair isn’t just annoying – it’s a safety hazard that can be easily fixed with the right approach. When it comes to fixing wobbly chairs, start by identifying the source of the wobble. Turn the chair upside down and check all joints, paying special attention to where legs meet the seat.
For loose wooden joints, remove old glue residue with fine-grit sandpaper. Apply wood glue generously into the joint, then clamp the pieces together for 24 hours. For extra stability, insert a wooden dowel into the joint before gluing.
Metal chairs often wobble due to loose screws or uneven legs. Tighten all visible screws and bolts with the appropriate tools. If legs are uneven, measure the difference with a level and attach adhesive furniture pads to shorter legs until balanced.
For chairs with spindles, check each connection point. Loose spindles can be secured by drilling small pilot holes and inserting wooden toothpicks with glue before reassembling. This provides extra grip for the spindles.
Remember to test the chair’s stability on a flat surface after repairs. If wobbling persists or you notice structural damage, consider consulting a professional furniture repair service to prevent potential accidents and ensure lasting results.

Surface scratches on wooden furniture are a common household nuisance, but many can be effectively addressed with simple DIY solutions. Before you attempt to restore damaged furniture, assess the depth of the scratch to determine the best treatment method.
For light surface scratches, start with the walnut method: simply rub a raw walnut along the scratch, allowing its natural oils to fill and darken the damaged area. Tea bags can also work wonders – steep a bag in hot water, let it cool slightly, then gently dab it on light-colored wood scratches.
Medium scratches often respond well to wood markers or fill sticks, available in various wood tones at most hardware stores. Apply the color carefully, working in the direction of the wood grain. For best results, start with a lighter shade and gradually build up to match your furniture’s color.
For deeper scratches, wood putty is your go-to solution. Clean the area thoroughly, apply the putty with a plastic putty knife, and allow it to dry completely before sanding smooth. Remember to match the wood finish by testing the solution in an inconspicuous area first.
If these methods don’t achieve the desired results, or if you’re dealing with antique or valuable pieces, it’s best to consult a professional furniture restoration specialist.
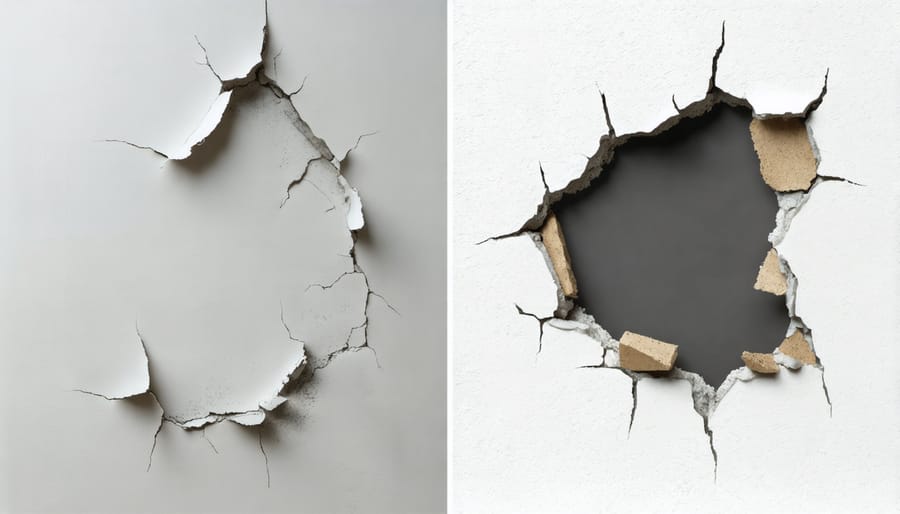
Repairing drywall holes is a common household task that can restore your walls to their original condition when done correctly. For small holes (under 6 inches), you’ll need spackle, a putty knife, sandpaper, and matching paint. Start by cleaning the damaged area and removing any loose debris. Apply spackle in thin layers using your putty knife, allowing each layer to dry completely before adding the next. For best results, extend the spackle slightly beyond the hole’s edges.
For medium-sized holes, you’ll need a drywall patch kit, joint compound, and similar tools used in wood repair techniques. Cut the damaged section into a clean square or rectangle. Place your drywall patch over the hole and secure it with joint compound. Apply multiple thin coats, feathering the edges outward with each layer. Once dry, sand the area smooth, starting with medium-grit sandpaper and finishing with fine-grit.
Remember to prime the repaired area before painting to ensure an even finish. Match your existing wall color carefully – it’s worth taking a small sample to your local paint store for precise color matching. For holes larger than 6 inches or structural damage, consider consulting a professional to ensure proper repair and maintain your home’s integrity.
Door hardware issues are among the most common household annoyances, but fortunately, they’re often simple to fix. For squeaky hinges, start by cleaning the hinge pins with a wire brush to remove built-up dirt and rust. Apply a lubricant like WD-40 or white lithium grease directly to the hinge pins, working them back and forth to ensure even distribution. For particularly stubborn squeaks, you can remove the hinge pin entirely by tapping it upward with a hammer and nail, cleaning it thoroughly, and reinstalling it with fresh lubricant.
Loose door handles typically result from regular use causing screws to gradually work themselves loose. First, tighten all visible screws on both the handle and the strike plate. If the screws still won’t hold, remove them and fill the holes with wooden toothpicks and wood glue. Once dry, reinstall the screws – they’ll now have fresh wood to grip. For handles that are wobbly but don’t have loose screws, the internal mechanism may need tightening. Most handles have a set screw on the neck of the handle that can be tightened with an Allen wrench.
Remember to periodically check and maintain all your door hardware every few months. This preventive approach helps avoid more serious issues and ensures smooth operation year-round. If you notice severe damage or mechanical failure within the lock mechanism itself, it’s best to consult a professional locksmith.
While DIY home improvements can be rewarding and cost-effective, certain repairs should always be left to qualified professionals due to significant safety risks. Electrical work tops this list – attempting to modify wiring, replace circuit breakers, or install new outlets without proper certification can lead to fire hazards or electrocution. Similarly, gas line repairs or modifications should never be attempted by homeowners, as improper handling can result in dangerous leaks or explosions.
Structural repairs affecting load-bearing walls or foundation work require professional expertise, as mistakes could compromise your home’s integrity. Roofing repairs beyond simple shingle replacement also pose falling risks and could lead to water damage if not properly executed. Major plumbing issues, especially those involving main water lines or sewage systems, should be handled by licensed plumbers to prevent flooding and contamination risks.
HVAC system repairs involving refrigerants or complex electrical components must be performed by certified technicians, as these systems contain hazardous materials and require specialized knowledge. When in doubt about whether a repair falls into the safety-critical category, consult a professional. The cost of hiring an expert is minimal compared to the potential risks of injury, property damage, or legal liability from attempted DIY repairs in these areas.
While many furniture restoration projects can be tackled as DIY tasks, certain complex situations demand professional expertise. Antique pieces with historical value, family heirlooms, or high-end furniture often require specialized knowledge and tools that go beyond basic repair skills. Professional intervention becomes necessary when dealing with extensive water damage, severe structural issues, or intricate wood carvings that need reconstruction.
Fire-damaged furniture, pieces affected by extensive mold growth, or items requiring complete reupholstery with matching patterns are best left to experienced restorers. These professionals have access to industrial-grade equipment, specialized cleaning solutions, and authentic period materials that aren’t available to the general public.
Signs that your restoration project needs professional attention include:
– Multiple layers of finish that need careful removal
– Valuable pieces requiring authentication or appraisal
– Extensive veneer repair or replacement
– Complex mechanical components like clock mechanisms
– Detailed marquetry or inlay work
– Historic pieces requiring period-accurate restoration
Remember that attempting complex restorations without proper expertise can potentially decrease a piece’s value or cause irreversible damage. Professional restorers not only bring technical skills but also understand proper documentation, preservation techniques, and material authenticity – crucial factors in maintaining the piece’s historical and monetary value.
Mastering basic home repair skills is an empowering journey that can save you time and money while giving you greater confidence in maintaining your home. By starting with simple tasks like fixing loose cabinet handles, patching small drywall holes, or unclogging drains, you can gradually build your DIY expertise and toolkit. Remember that successful home repair is about knowing both what you can handle and when to call professionals.
Keep a well-organized toolbox, maintain detailed records of repairs, and always prioritize safety in your DIY projects. Consider joining local home improvement workshops or online communities to continue learning and sharing experiences with fellow homeowners. As you become more comfortable with basic repairs, you’ll develop an intuitive understanding of your home’s needs and maintenance requirements.
While it’s important to be self-reliant, remember that some repairs require professional expertise. Start small, stay safe, and gradually expand your skills. With patience and practice, you’ll be better equipped to handle many common household issues while knowing when to seek expert assistance for more complex repairs.