Restore your furniture’s beauty and functionality with professional-grade upholstery repair techniques that save thousands in replacement costs. From worn-out cushions to unsightly tears, most upholstery damage can be effectively addressed through strategic DIY repairs when caught early. Master the essential skills of fabric patching, seam reinforcement, and spring adjustment to extend your furniture’s lifespan and maintain its aesthetic appeal.
Understanding which repairs to tackle yourself versus when to call a professional ensures optimal results and prevents costly mistakes. This comprehensive guide breaks down proven repair methods for common issues like loose threads, sagging cushions, and minor tears, while highlighting situations that require expert intervention. Whether you’re dealing with a beloved family heirloom or maintaining commercial furniture, these time-tested techniques help preserve your investment and restore your upholstered pieces to their former glory.
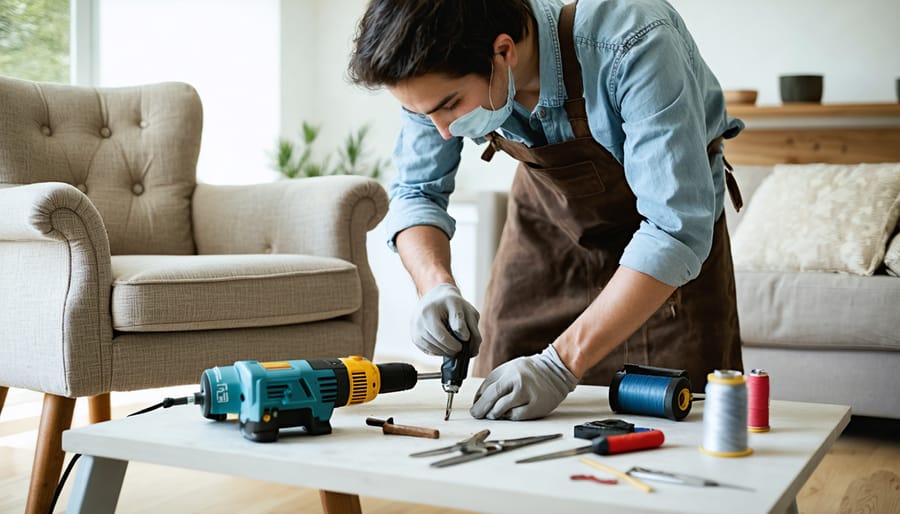
Armed with the right tools, materials, and knowledge, you’ll be equipped to handle many common upholstery challenges confidently and effectively. Let’s explore practical, cost-effective solutions that deliver professional-quality results without compromising your furniture’s integrity or value.
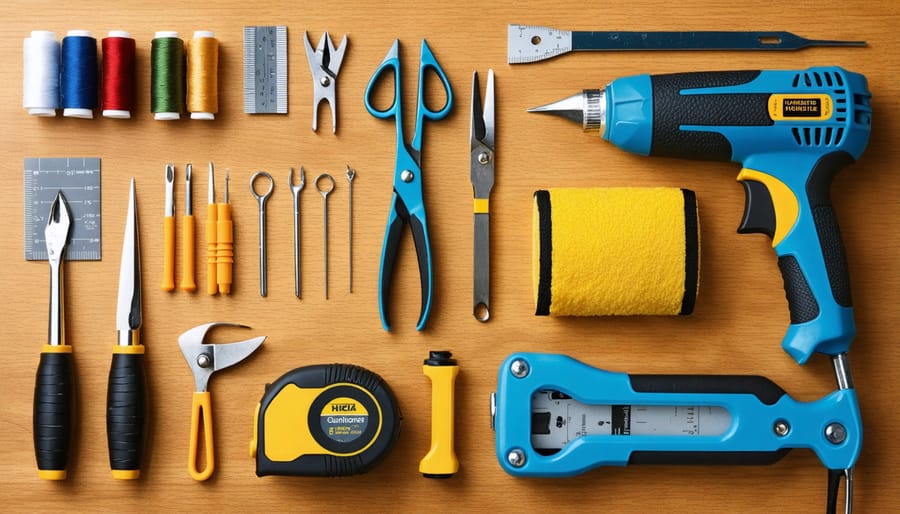
A well-stocked upholstery repair toolkit is essential for tackling common furniture repairs effectively. Start with a quality seam ripper and scissors for removing old fabric and trimming materials. Include several sizes of flat-head and Phillips screwdrivers for dismantling pieces and adjusting mechanisms. A rubber mallet is invaluable for gentle adjustments without damaging frames.
For fastening, you’ll need a reliable staple gun with various staple sizes, plus needle-nose pliers for removing old staples and tacks. Keep an assortment of upholstery needles and heavy-duty thread in neutral colors. A measuring tape, fabric marking pencils, and a straightedge ensure accurate cuts and alignment.
Consider adding specialized tools like webbing stretchers for seat support repairs and tack hammers for decorative nail work. Basic safety equipment is crucial – wear safety glasses when removing staples and heavy-duty gloves when handling sharp objects.
Store these tools in a dedicated container to keep them organized and protect their condition. While this basic kit handles most minor repairs, complex projects may require additional specialized tools.
While basic tools can get you started, investing in specialized upholstery tools can significantly improve your repair results and efficiency. A professional-grade electric staple gun saves time and ensures secure fabric attachment, while a magnetic tack hammer helps prevent finger injuries during detailed work. A webbing stretcher is essential for proper seat support repairs, allowing you to achieve the right tension every time.
Don’t overlook the value of a good pair of spring-loaded upholstery scissors, which make clean cuts through heavy fabrics and minimize hand fatigue. A pneumatic upholstery cleaning gun can extend the life of your furniture by removing deep-seated dirt and debris that regular vacuuming misses.
For pattern matching and precise cuts, investing in a clear ruler and cutting mat set will help you achieve professional-looking results. Finally, a high-quality upholstery needle set with curved and straight options allows you to tackle various stitching challenges with confidence. While these tools represent an initial investment, they quickly pay for themselves through better repairs and fewer mistakes.
Torn seams and loose threads are common issues that can make furniture look worn and unkempt. Fortunately, repairing torn seams is often a manageable DIY task when approached correctly.
Start by gathering your supplies: upholstery thread matching your fabric, an upholstery needle, scissors, and a seam ripper. Choose thread that matches both the color and weight of the existing stitching for the best results.
First, remove any loose or damaged threads using your seam ripper, being careful not to damage the fabric. Clean the area thoroughly to ensure strong adhesion for your new stitching. For straight seams, pin the fabric pieces together to maintain proper alignment during repair.
When stitching, use a double thread and create small, even stitches that mirror the original seam pattern. Start your repair about half an inch before the torn area and continue half an inch past it for added strength. Secure both ends with several small backstitches to prevent unraveling.
For corners and curved areas, work slowly and adjust your fabric positioning frequently to maintain smooth lines. If you encounter difficulty accessing certain areas, consider using a curved upholstery needle for better maneuverability.
Remember that while minor repairs are suitable for DIY, extensive damage or repairs on valuable pieces should be handled by professionals to ensure lasting results.
Small tears and holes in upholstery don’t have to mean the end of your favorite furniture pieces. With the right techniques and materials, you can effectively fix upholstery holes and extend the life of your furniture.
For tiny holes and tears less than an inch in size, start by cleaning the affected area with a gentle fabric cleaner and allowing it to dry completely. Thread-matching is crucial – select a thread that matches both the color and thickness of your upholstery fabric. Using a curved upholstery needle, carefully stitch the edges together with small, tight stitches.
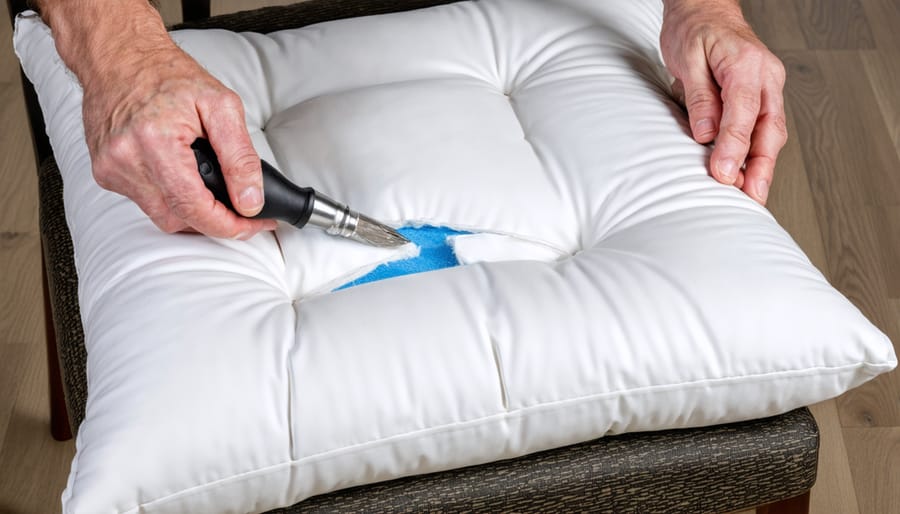
For slightly larger tears, you’ll need a fabric patch that matches your upholstery. Cut the patch about half an inch larger than the damaged area on all sides. Apply fabric adhesive around the tear’s edges, then carefully position the patch underneath the hole. Press the tear’s edges down onto the patch and hold firmly for several minutes. Once dry, trim any excess threads or fabric.
Remember that successful repairs depend largely on the fabric type and damage extent. Leather and vinyl require specialized repair techniques and materials. For valuable pieces or damages larger than 2 inches, we recommend consulting a professional to ensure the best possible outcome and maintain your furniture’s value.
Quick Tip: Always test repair materials on a hidden area first to ensure compatibility with your fabric.
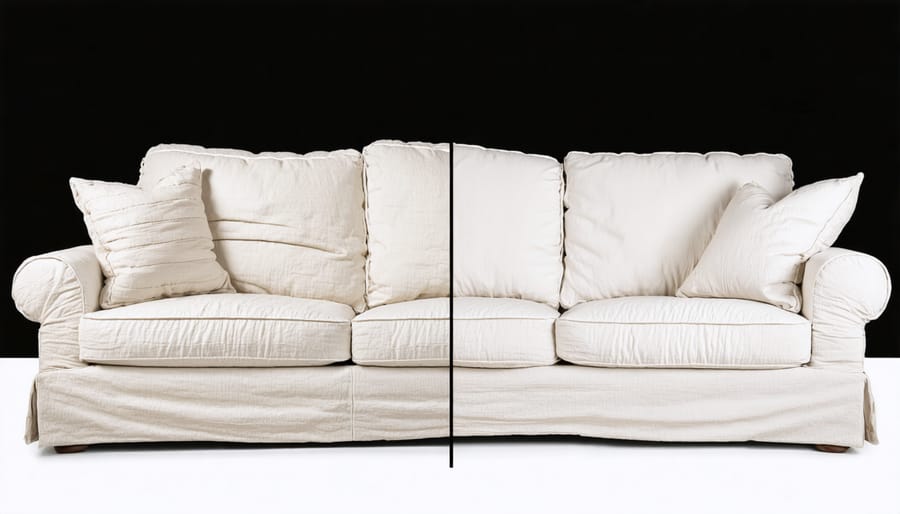
Sagging cushions can make even the most elegant furniture look tired and uninviting, but there are several effective methods to restore their firmness and shape. For minor sagging, start by removing the cushion cover and fluffing the inner filling material vigorously. If the cushions have removable polyester filling, you can rejuvenate it by placing it in a dryer on low heat with a couple of tennis balls for 10-15 minutes.
For foam cushions showing signs of compression, consider adding a layer of high-density foam or Dacron batting to restore volume. Simply wrap the existing foam core with the new material before replacing the cover. This method can extend your cushion’s life by several years while maintaining comfort.
More severe cases might require complete foam replacement. Measure your existing cushion carefully, accounting for compression, and purchase high-quality replacement foam slightly larger than needed. You’ll want to trim it down for a perfect fit. Remember that foam comes in various densities – opt for a higher density rating for seats that see frequent use.
For down-filled cushions, professional resteaming and refluffing can work wonders. Regular maintenance, including daily fluffing and rotating cushions weekly, helps prevent future sagging and ensures even wear. If your cushions have structural issues or the frame beneath is damaged, it’s best to consult a professional upholsterer for lasting repairs.
Regular cleaning is a cornerstone of proper upholstery maintenance and plays a crucial role in extending the life of your furniture. Different fabrics require specific cleaning approaches to prevent damage while maintaining their appearance.
For natural fibers like cotton and linen, start with gentle vacuuming using an upholstery attachment to remove loose dirt and debris. Use a soft-bristled brush to prevent fiber damage. When spot cleaning, blot stains with a clean white cloth and a mixture of mild soap and water, working from the outside toward the center to prevent rings.
Synthetic fabrics such as polyester and nylon are more resilient but still require careful attention. These materials can typically withstand stronger cleaning solutions, but always test products in an inconspicuous area first. For regular maintenance, vacuum weekly and address spills immediately using appropriate fabric cleaners.
Leather upholstery needs special care – wipe it down regularly with a slightly damp cloth and use leather-specific cleaners every 6-12 months. Avoid standard household cleaners, which can strip essential oils and damage the material.
For delicate fabrics like silk or vintage materials, consider professional cleaning services to avoid potential damage. Remember to always check manufacturer’s care labels before applying any cleaning solutions, and keep furniture away from direct sunlight to prevent fading and fabric deterioration.
Protecting your upholstery from wear and damage is essential for extending its lifespan and maintaining its appearance. Start by implementing a regular cleaning schedule, vacuuming at least once a week to remove dirt and debris that can wear down fabric fibers. Use arm covers and antimacassars on frequently used areas to prevent oil and dirt buildup from hair and skin contact.
Consider applying a professional-grade fabric protector spray, which creates an invisible barrier against spills and stains. Ensure proper application by testing on a hidden area first and reapplying annually or as recommended by the manufacturer.
Position furniture away from direct sunlight to prevent fading and fabric degradation. If this isn’t possible, use UV-protective window films or treatments. For leather upholstery, apply a leather conditioner every six months to prevent cracking and maintain suppleness.
Keep pets off furniture when possible, or use designated throws that can be easily washed. Install scratch-deterrent products on sides of furniture if you have cats. For homes with children, consider using washable slipcovers that can be removed and cleaned as needed.
Maintain consistent indoor humidity levels between 40-50% to prevent fabric deterioration. During parties or gatherings, use coasters and encourage guests to avoid placing food and drinks directly on upholstered surfaces. These preventive measures will significantly reduce repair needs and extend your furniture’s life.
While many upholstery repairs can be handled as DIY projects, certain situations warrant the expertise of professional upholstery repair services. Recognizing these scenarios can save you time, money, and prevent potential damage to your valuable furniture.
Consider professional help when dealing with:
Structural Damage: If your furniture’s frame is cracked, broken, or shows signs of instability, a professional assessment is crucial. Attempting to fix structural issues without proper knowledge can compromise the furniture’s integrity and safety.
Complex Patterns or Materials: High-end fabrics, leather, or intricate patterns require specialized skills and tools. Professionals have access to exact pattern matching techniques and proper materials that ensure seamless repairs.
Antique or Valuable Pieces: Heritage furniture pieces often need restoration expertise to maintain their value and authenticity. Professional restorers understand period-appropriate techniques and materials.
Deep Stains or Burns: When damage penetrates beyond surface level or affects large areas, professional cleaning and repair methods will likely yield better results than DIY solutions.
Spring or Support System Issues: Interior mechanisms like springs, webbing, or support systems require technical knowledge to repair correctly. Improper fixing can lead to discomfort and further damage.
Multiple Repair Needs: When furniture requires several types of repairs simultaneously, professional service ensures all issues are addressed comprehensively and in the correct order.
Look for these warning signs that indicate it’s time to call a professional:
– Visible sagging or uneven surfaces
– Unusual creaking or movement
– Exposed internal components
– Tears longer than 6 inches
– Multiple layers of damage
– Significant odors or contamination
Remember, quality furniture is an investment, and sometimes professional intervention is the most cost-effective solution in the long run.
Maintaining and repairing your upholstery doesn’t have to be an overwhelming task. By following the tips and techniques we’ve discussed, you can extend the life of your furniture while preserving its beauty and functionality. Remember to always start with the basics: regular cleaning, prompt attention to spills, and addressing minor repairs before they become major problems.
For simple repairs like small tears, loose threads, or minor stains, the DIY approaches we’ve covered can help you restore your furniture’s appearance quickly and effectively. However, it’s equally important to recognize when a repair job requires professional expertise. Complex issues involving springs, frame damage, or extensive reupholstering are best left to experienced technicians.
Prevention is always better than cure. Implementing routine maintenance practices, such as rotating cushions, using appropriate cleaning products, and protecting furniture from direct sunlight, will significantly reduce the need for repairs over time. Consider investing in quality fabric protectors and following manufacturer care instructions to maximize your furniture’s longevity.
Whether you choose to tackle repairs yourself or seek professional help, the key is taking action promptly when issues arise. With proper care and attention, your upholstered furniture can continue to provide comfort and style for many years to come. Remember, every piece of furniture tells a story – make sure yours includes a chapter on proper maintenance and care.