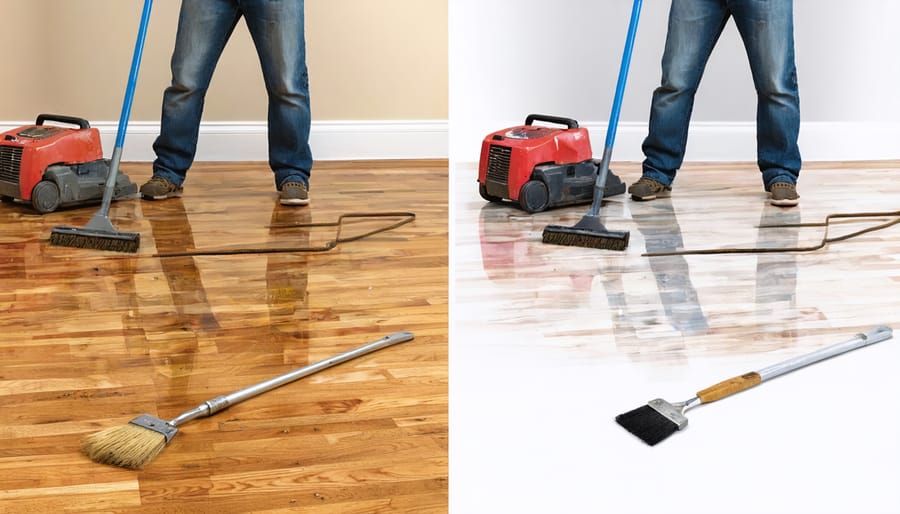
Transform your worn hardwood floors into stunning centerpieces through wood floor refinishing – a comprehensive restoration process that can bring your hardwood floors back to life. This skilled craft involves sanding away years of wear, scratches, and old finish to expose fresh wood underneath, followed by expert staining and sealing that protects and beautifies your investment. Whether dealing with century-old oak planks or modern engineered hardwood, professional refinishing addresses deep scratches, sun fading, water damage, and general wear while preserving the wood’s natural character and extending its lifespan by decades. Understanding this process helps homeowners make informed decisions about their flooring’s maintenance and restoration, whether tackling it as a DIY project or entrusting it to experienced professionals who can guarantee optimal results.
Several telltale signs indicate when your hardwood floors need refinishing. The most obvious is visible wear patterns in high-traffic areas, where the protective finish has worn away, leaving the wood exposed and vulnerable. Deep scratches, scuff marks, and gouges that penetrate beyond the finish layer are clear indicators that refinishing is needed.
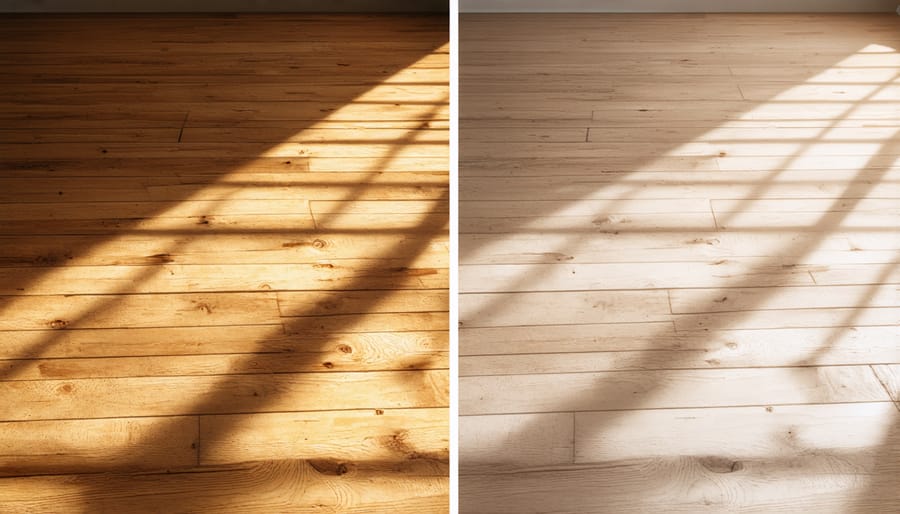
Water damage spots, which appear as dark or grayish stains, signal that moisture has compromised the wood’s protective coating. Sunlight exposure can cause noticeable fading or discoloration in certain areas, creating an uneven appearance across your floor’s surface.
A simple water test can confirm if refinishing is necessary: place a few drops of water on your floor – if the water beads up, your finish is still intact. However, if it slowly seeps into the wood or immediately soaks in, your floor’s protective barrier has broken down and requires attention. Additionally, a dull, lackluster appearance that doesn’t improve with cleaning suggests it’s time to consider refinishing services.
Before considering refinishing, it’s crucial to identify serious structural issues that may require more extensive repairs. Deep gouges or scratches that penetrate beyond the wood’s surface layer can compromise floor integrity. Watch for dark water stains or discoloration, particularly around windows, doors, or plumbing fixtures, as these often indicate ongoing moisture problems that need addressing before refinishing.
Warped or buckling boards are red flags that suggest underlying moisture damage or foundation issues. Pay attention to squeaking sounds, loose boards, or spots that feel spongy when walked upon. These symptoms often point to subfloor problems or joist deterioration that must be addressed for safety reasons.
Extensive termite damage, visible rot, or boards that have split or cracked completely through require immediate attention. In such cases, individual board replacement may be necessary before proceeding with the refinishing process. Always prioritize structural integrity over cosmetic improvements to ensure long-lasting results and safe flooring.
Before beginning any wood floor refinishing project, a thorough assessment of your floor’s condition is essential. Start by examining the entire surface for deep scratches, gouges, water damage, or severe discoloration. Pay special attention to high-traffic areas and spots near windows where sun exposure may have caused fading.
Next, test the floor’s thickness by removing a floor vent or lifting a corner piece of baseboard. Hardwood floors should have at least 1/8 inch of wood above the tongue-and-groove joint to support sanding. Also check for loose boards, squeaks, or signs of structural issues that might need addressing before refinishing.
Once assessment is complete, prepare the room by removing all furniture, window treatments, and baseboards. Seal off doorways and vents with plastic sheeting to contain dust. Cover any built-in cabinets or permanent fixtures with protective materials. Clean the floor thoroughly to remove dirt and debris that could interfere with the refinishing process.
Take photographs of problem areas and measure the room’s square footage to help determine material quantities and estimate project timeline. This preparation phase is crucial for achieving professional-quality results.
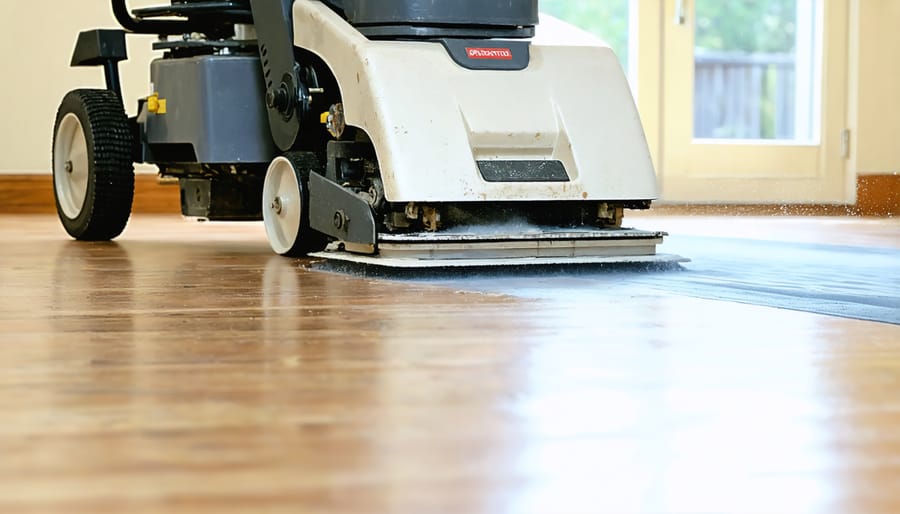
The sanding process begins with a thorough inspection of the floor to identify any loose boards, protruding nails, or significant damage that needs addressing before refinishing can commence. Using professional-grade sanders, technicians start with coarse-grit sandpaper to remove the old finish, stains, and surface damage. This initial pass strips away years of wear and reveals the raw wood beneath.
Multiple sanding passes follow, gradually progressing to finer grits that smooth the surface and prepare it for new finish application. Special attention is paid to edges and corners using detail sanders to ensure uniform results. During this phase, expert technicians can address common issues like deep scratches, water damage, or minor gaps between boards.
For damaged areas, wood filler matched to your floor’s species is carefully applied to repair scratches, gouges, or small holes. Larger issues might require board replacement, where damaged planks are skillfully removed and replaced with matching wood. Once repairs are complete, a final fine-grit sanding ensures a perfectly smooth surface that’s ready for staining or finishing.
This crucial preparation phase typically removes about 1/32 inch of wood, effectively erasing years of damage while preserving your floor’s structural integrity.
Once the sanding process is complete, your wood floor enters an exciting phase where you can dramatically transform its appearance through staining and finishing. Staining offers an opportunity to enhance or completely change the color of your wood, with options ranging from light natural tones to rich, dark hues. The stain is carefully applied using specialized applicators to ensure even coverage and prevent lap marks.
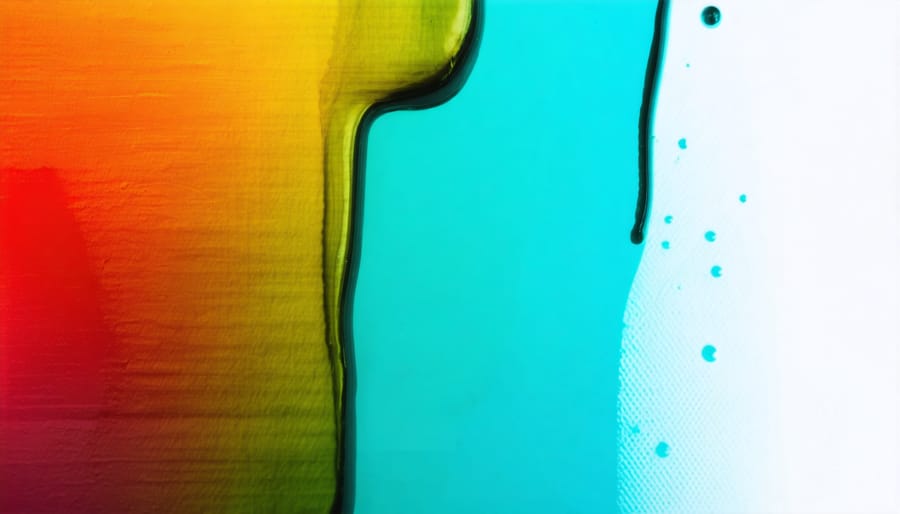
After the stain has thoroughly dried, the finishing process begins. Modern floor finishes come in several varieties, including water-based polyurethane, oil-based polyurethane, and natural oils. Water-based finishes dry quickly and maintain the wood’s natural color, while oil-based options offer superior durability and create a warm amber glow. Natural oils penetrate the wood deeply, providing a more traditional look and feel.
Multiple coats of finish are applied, with light buffing between each layer to ensure proper adhesion. The first coat seals the wood, while subsequent coats build protection and shine. Each coat must dry completely before the next application, typically requiring 24-48 hours between coats. The final result is a beautiful, durable surface that enhances your home’s value and provides years of protection for your wood floors.
Opting for professional hardwood flooring services offers numerous advantages over DIY approaches. Experienced refinishers bring years of specialized knowledge and access to commercial-grade equipment that delivers superior results. They can accurately assess wood conditions, identify potential issues, and recommend the most appropriate treatment methods for your specific flooring type.
Professional refinishers also save you valuable time and prevent costly mistakes. Their expertise ensures proper sanding techniques that maintain wood integrity while achieving even results across the entire floor surface. They’re well-versed in dealing with different wood species and can match stain colors perfectly to achieve your desired look.
Safety is another crucial benefit, as professionals handle dust containment and proper ventilation during the refinishing process. They’re also insured against accidents and carry warranties for their work, providing peace of mind throughout the project. Additionally, their efficiency in completing the job minimizes disruption to your daily routine while ensuring lasting results that protect your investment in hardwood flooring.
While DIY floor refinishing might seem cost-effective, several common mistakes can lead to costly repairs. Uneven sanding is perhaps the most frequent issue, resulting in visible ridges and dips that become more apparent after staining. Another critical error is rushing through the sanding progression, skipping grits that are essential for achieving a smooth finish.
Inadequate dust containment not only creates a mess but can also lead to debris settling in the fresh finish. Many DIYers also struggle with proper stain application, resulting in lap marks and uneven coloring. Applying finish too thick or in unfavorable conditions can cause bubbling, peeling, or extended drying times.
Professional refinishers bring not only specialized equipment but also years of experience in handling unexpected challenges like wood variations and old finish types. They understand proper ventilation requirements, drying times, and how environmental conditions affect the process. Most importantly, they can identify when deeper restoration is needed versus when simple refinishing will suffice.
Consider that mistakes in DIY refinishing often require professional intervention to correct, potentially costing more than hiring experts from the start.
After investing in wood floor refinishing, proper maintenance is crucial to keep your hardwood floors beautiful and extend their lifespan. Start by establishing a regular cleaning routine using a microfiber mop and wood-specific cleaners, avoiding excess water which can damage the finish and wood.
Place protective felt pads under furniture legs and use area rugs in high-traffic zones to prevent scratches and wear patterns. Remember to lift furniture rather than dragging it across the floor when rearranging rooms. Keep your pet’s nails trimmed and clean up spills immediately to prevent staining and water damage.
Maintain consistent indoor humidity levels between 35-55% using humidifiers or dehumidifiers as needed. This prevents wood expansion and contraction that can compromise the finish. Clean your floors in the direction of the wood grain and avoid using steam mops, which can penetrate and damage the protective finish.
Schedule periodic professional maintenance checks to address minor issues before they become major problems. Consider applying a maintenance coat every 3-5 years, depending on wear and tear. This refreshes the protective layer without requiring complete refinishing.
By following these care guidelines, your refinished floors can maintain their beauty and durability for many years to come, protecting your investment and enhancing your home’s value.
Wood floor refinishing is a crucial investment in maintaining the beauty, value, and longevity of your hardwood floors. When done properly by experienced professionals, this process can breathe new life into worn surfaces and protect them for years to come. While DIY refinishing might seem tempting, the complexity of the process and the risk of costly mistakes make professional assessment and execution the wisest choice for most property owners. Remember that every floor has unique characteristics and damage patterns that require specific expertise to address. By partnering with qualified professionals, you’ll ensure your floors receive the appropriate treatment and attention to detail they deserve, ultimately saving time, money, and potential headaches in the long run. Don’t hesitate to schedule a professional evaluation to determine the best refinishing approach for your specific situation.