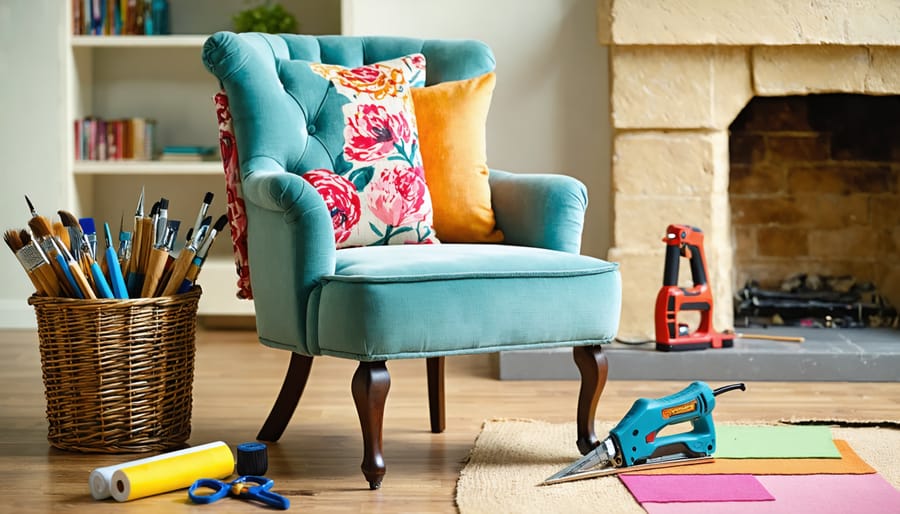
Transform your tired accent chair into a stunning focal point with professional-grade reupholstery techniques that rival custom furniture stores. Learning to transform accent furniture through reupholstery saves thousands while preserving cherished pieces and unleashing creative potential. Master the fundamental skills of furniture restoration – from precise fabric selection and proper tool handling to expert upholstery removal and flawless pattern matching. Whether refreshing a faded family heirloom or updating a thrift store find, this comprehensive guide equips you with time-tested techniques used by professional upholsterers. Follow our detailed, step-by-step process to breathe new life into your accent chair while gaining valuable DIY skills that transfer to future furniture projects.
Before starting your reupholstery project, gather these essential tools to ensure a smooth and professional-looking result:
Removal Tools:
– Heavy-duty staple remover: For pulling out old staples and tacks
– Pliers: Both needle-nose and regular for gripping and removing stubborn fasteners
– Flathead screwdriver: Helps pry up staples and separate fabric pieces
– Utility knife: For cutting old fabric and trimming new material
Measuring and Cutting Tools:
– Fabric scissors: Sharp, dedicated scissors for clean cuts in your upholstery fabric
– Measuring tape: For accurate fabric measurements and pattern matching
– Marking chalk: To make visible guidelines on fabric
– Straight edge or ruler: Ensures straight cutting lines
Installation Tools:
– Electric staple gun (with staples): The primary tool for securing new fabric
– Upholstery hammer: Features a magnetic head for tack installation
– Webbing stretcher: For properly tensioning seat support webbing
– Tack strip regulator: Helps create clean edges and corners
Additional Essential Items:
– Safety glasses: Protects eyes during staple removal
– Work gloves: Prevents hand injuries and provides better grip
– Dust mask: Guards against fabric particles and old padding dust
– Small air compressor: If using a pneumatic staple gun
– Upholstery needles: For hand-sewing details and finishing touches
Keep these tools organized in a dedicated workspace for efficiency and safety throughout your project.

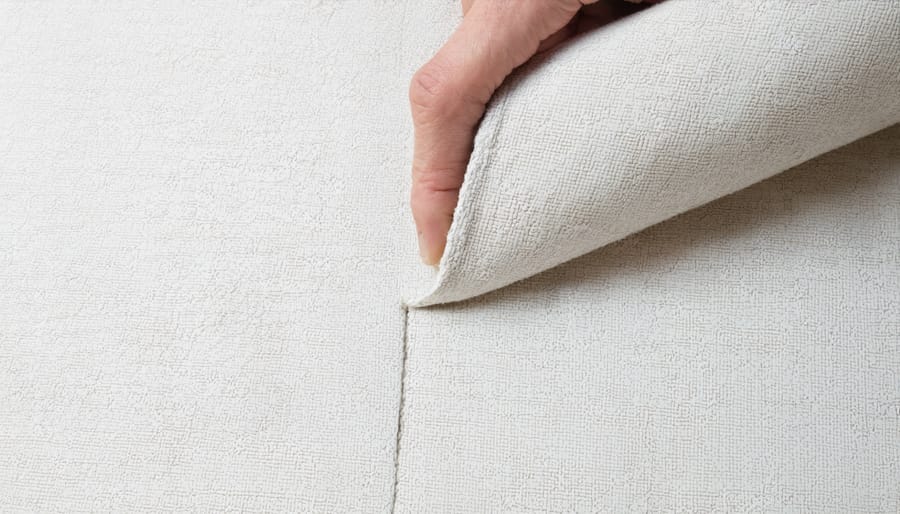
Selecting the right fabric is crucial for a successful chair reupholstery project. When choosing among durable upholstery fabrics, consider both functionality and aesthetics. Start by checking the fabric’s double rub count, which indicates wear resistance. For accent chairs in residential settings, look for fabrics with at least 15,000 double rubs, while high-traffic areas may require 30,000 or more.
Pattern matching requires additional consideration and fabric yardage. Solid colors are most forgiving for beginners, while larger patterns need careful planning to align across seams. Always purchase an extra half yard for pattern matching or mistakes.
Common fabric options include:
– Cotton: Breathable and easy to work with
– Linen: Elegant but wrinkles easily
– Polyester blends: Excellent durability and stain resistance
– Performance fabrics: Ideal for homes with children or pets
– Velvet: Luxurious but requires careful maintenance
Consider your chair’s usage when selecting fabric weight. Lightweight fabrics work well for occasional seating, while medium to heavyweight materials suit daily use. Remember to check the fabric’s cleaning code (W, S, WS, or X) to ensure proper maintenance.
For optimal results, test your fabric choice by requesting samples and examining them in your space’s lighting. This helps verify color accuracy and allows you to assess the material’s texture and durability firsthand.
Before diving into the disassembly process, take detailed photographs of your accent chair from multiple angles. This documentation will serve as your roadmap during reassembly. Pay special attention to capturing the original placement of trim, welting, and any decorative elements.
Create a labeled diagram or take notes indicating the order of fabric layers and how pieces connect. Document any unique features or challenging areas that might require special attention later. This reference material will prove invaluable when you’re ready to put everything back together.
Begin the disassembly process by carefully removing decorative trim and staples using appropriate tools. A flathead screwdriver, staple remover, and needle-nose pliers are essential for this step. Work methodically from bottom to top, saving all removed pieces in labeled bags or containers. This organization system will help you track which pieces go where during reassembly.
As you remove each layer, examine how it was attached and note any particular techniques used. Keep the original upholstery pieces intact – they’ll serve as patterns for cutting your new fabric. If the original pieces are too damaged to use as templates, create paper patterns before discarding them.
Pay close attention to the foam and padding condition underneath. Document any areas that show wear or compression, as these might need replacement. If you encounter any unique construction methods or unexpected challenges, photograph these details for future reference.
Remember to work slowly and deliberately – rushing through disassembly can damage the chair’s frame or compromise your ability to accurately document the process. Store all hardware, including staples and tacks, in clearly labeled containers for reuse if appropriate.
Before diving into the reupholstery process, it’s essential to thoroughly assess and repair your accent chair’s frame. Start by removing all existing fabric and padding to expose the bare frame. As you inspect, pay special attention to joints, legs, and any load-bearing areas where structural integrity is crucial. Gently wiggle each component to check for loose connections or wobbling.
Using proven furniture restoration techniques, address any issues you discover. For loose joints, carefully scrape away old glue residue and apply fresh wood glue, securing the joint with clamps until completely dry. Tighten or replace any loose screws, and consider adding corner blocks to reinforce weak areas.
If you encounter cracks in the wood, use wood filler for minor repairs or wood epoxy for more significant damage. Allow all repairs to cure completely before proceeding. For splits along the grain, apply wood glue and use bar clamps to hold the pieces together while drying.
Pay particular attention to the seat platform, as it bears the most weight. Replace any broken support springs or webbing, and ensure the platform is level and stable. If you notice any rotted wood, especially around the legs or base, these sections must be replaced with matching wood types to maintain structural integrity.
Remember to sand any repaired areas smooth and treat exposed wood with a protective finish before moving forward with reupholstery. Taking the time to properly assess and repair the frame now will ensure your newly upholstered chair remains sturdy and beautiful for years to come.
After removing the old upholstery, carefully inspect the chair’s padding and support structure. When refurbishing old furniture, you’ll often find that the original padding has compressed or deteriorated over time. Start by examining the springs, webbing, and frame for any damage that needs repair before adding new padding.
For the seat, begin with a layer of heavy-duty webbing if the original is worn. Secure it tightly in a crisscross pattern using a staple gun and webbing stretcher. Next, place a layer of burlap over the webbing to prevent the padding from falling through. If your chair has springs, ensure they’re properly tied and secured before proceeding.
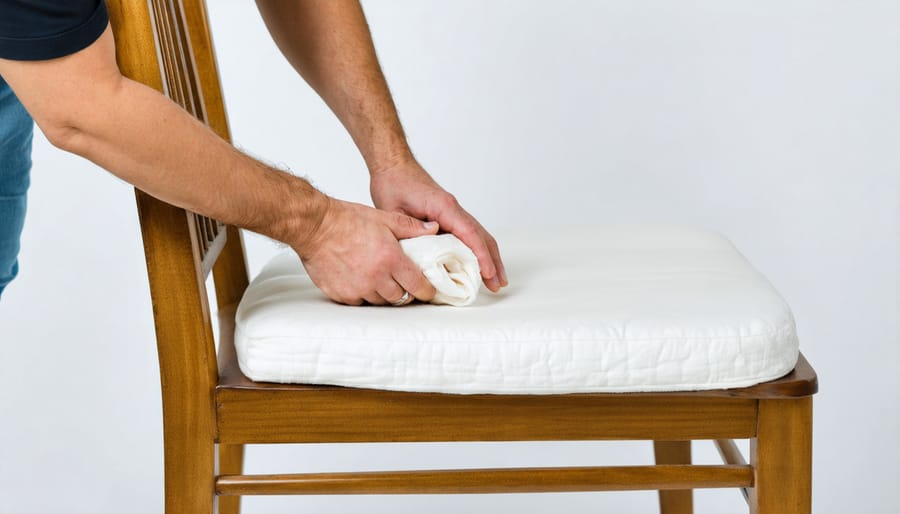
Layer your padding materials starting with high-density foam as the base. Choose foam that’s slightly thicker than needed, as it will compress with use. Cut the foam to size using an electric carving knife for clean, precise edges. For added comfort and a professional finish, add a layer of Dacron batting over the foam. This creates a smooth surface and prevents the foam’s edges from showing through the fabric.
For the chair back, use medium-density foam for comfort while maintaining shape. Consider using multiple layers of different density foams to achieve the desired profile. Wrap the entire back with batting, paying special attention to corners and edges where wear is most likely to occur.
When working on the arms, use firm foam for structure and softer foam on top for comfort. Shape the foam carefully to maintain the chair’s original lines. Secure all padding materials with spray adhesive and staples where necessary. This prevents shifting and ensures long-lasting results.
Finally, smooth out any bumps or irregularities before proceeding with the fabric covering. Take time to check the padding from multiple angles, as imperfections will show through the final upholstery.
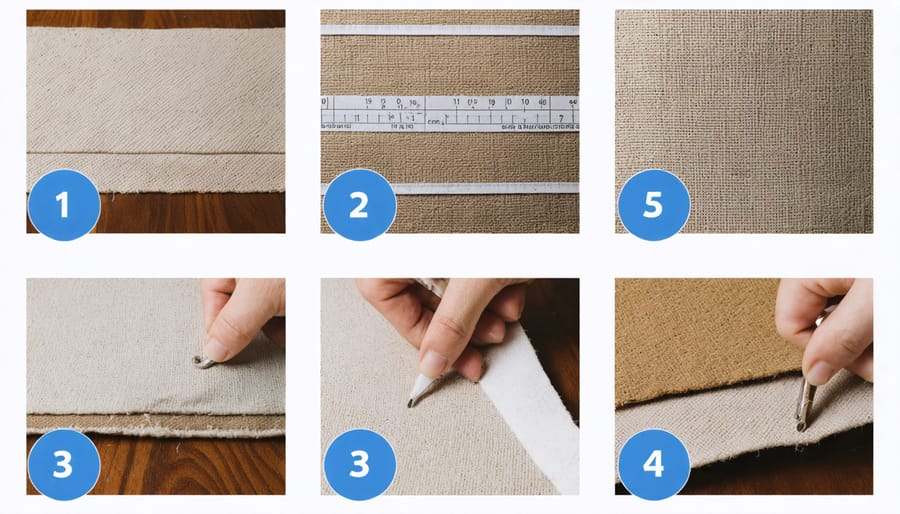
With your new fabric selected and prepared, it’s time for the most transformative step of your reupholstery project. Begin by laying out your fabric on a clean, flat surface with the pattern side down. Using your old fabric pieces as templates, add an extra 3-4 inches around each edge to allow for proper positioning and securing. This extra allowance ensures you have enough fabric to create crisp corners and secure stapling.
Start with the chair’s seat, positioning the fabric pattern carefully to ensure it aligns with your design vision. If your fabric has a distinct pattern, center it appropriately before making any cuts. Pull the fabric taut over the seat, starting from the center of each side and working your way outward. Secure with staples every 2-3 inches, maintaining even tension throughout to prevent wrinkles or sagging.
For the chair back, position your fabric from the top center, gradually working downward and outward. This technique helps maintain pattern alignment and prevents fabric distortion. Pay special attention to curves and corners, making small relief cuts where necessary to help the fabric conform to complex shapes without bunching. Remember to fold and tuck the fabric neatly at corners for a professional finish.
When working with arms and other curved surfaces, use upholstery pins temporarily to hold the fabric in place while you adjust for the perfect fit. Create neat pleats where necessary, especially around curved areas, ensuring they’re evenly spaced and symmetrical. Once you’re satisfied with the positioning, secure the fabric with staples, working in small sections to maintain control over the fabric’s tension.
For areas requiring precise fabric application, such as button tufting or welting, take extra care to align patterns and create clean folds. Use a pneumatic stapler for consistent results, placing staples close enough together to prevent fabric from loosening over time. Trim excess fabric carefully, leaving enough material to fold under for clean edges.
Complete the application by adding decorative elements like welting or trim to cover staples and create finished edges. Double-check all areas for secure attachment and smooth appearance, paying particular attention to high-stress points where the fabric might experience additional wear.
The finishing touches on your reupholstered accent chair can truly elevate its appearance from a basic DIY project to a professional-looking piece. Begin by carefully inspecting all seams and corners to ensure they’re properly secured and smooth. If you notice any loose areas, now is the time to reinforce them with additional staples or stitching.
For decorative trim application, start with the most visible areas first. Double-welting or gimp trim can effectively hide staple lines while adding sophistication to your chair. Apply trim using a hot glue gun in small sections, ensuring it lies flat and follows the chair’s contours perfectly. For corners, create neat mitered joints by cutting the trim at a 45-degree angle for a polished look.
If your chair design includes tufting, now’s the time to add decorative buttons. Mark button placement carefully using chalk or fabric pins, ensuring symmetrical spacing. Use a long upholstery needle and strong button thread to secure each button, pulling firmly but not so tight that it distorts the fabric. For a professional finish, add a backing button on the reverse side to prevent pull-through.
Consider adding dust cover fabric to the chair’s underside for a refined appearance. Cut black cambric fabric slightly larger than the bottom area, fold the edges under, and staple in place for a neat finish. This not only looks professional but also protects your upholstery work from dust and debris.
Finally, apply fabric protector spray in a well-ventilated area, following manufacturer instructions carefully. Two light coats are better than one heavy application. Allow the chair to dry completely for 24-48 hours before use. Clean any visible fingerprints or marks with a soft brush, and adjust any final details like cushion placement or skirt alignment for that perfect, professional appearance.
Remember to take photos of your completed project – not only will they serve as a proud reminder of your accomplishment, but they’ll also be helpful reference points for future projects.
To effectively maintain restored furniture, implement these essential care practices for your newly reupholstered accent chair. Vacuum the fabric regularly using a soft brush attachment to prevent dust and debris from settling into the fibers. Address spills immediately by blotting (never rubbing) with a clean, white cloth to prevent staining.
Protect your investment by positioning the chair away from direct sunlight, which can fade and weaken fabric over time. If possible, rotate the chair periodically to ensure even wear and exposure. Consider applying a fabric protector specifically designed for your upholstery type to guard against stains and spills.
For routine cleaning, follow the fabric manufacturer’s recommendations. Most upholstery can be cleaned with a mild soap solution, but always test any cleaning product on a hidden area first. Keep pets’ nails trimmed to prevent snags, and consider using arm covers in high-wear areas.
Inspect the chair quarterly for any loose threads, weak seams, or signs of wear. Address minor repairs promptly to prevent larger issues from developing. Professional cleaning every 12-18 months will help extend the life of your upholstery and maintain its appearance. With proper care, your reupholstered accent chair can remain beautiful and functional for many years to come.
Reupholstering an accent chair may seem daunting at first, but with the right tools, materials, and patience, you can breathe new life into your favorite piece of furniture. By following the steps we’ve outlined, you’ll not only save money but also gain valuable DIY skills and the satisfaction of completing a professional-looking project.
Remember to take your time during the preparation phase, as proper planning and material selection are crucial for success. Don’t rush through removing the old fabric – this step provides valuable insights into how your chair was originally assembled. Pay special attention to pattern matching and fabric alignment, as these details can make the difference between an amateur and professional-looking result.
Keep all your old fabric pieces as patterns, take plenty of photos throughout the process, and maintain an organized workspace. If you encounter challenges along the way, don’t get discouraged. Many DIY enthusiasts find their first reupholstery project to be a learning experience that leads to many more successful furniture transformations.
Now that you have all the knowledge and steps needed, it’s time to gather your supplies and begin your reupholstery journey. With attention to detail and the techniques we’ve shared, you’ll soon be admiring your beautifully restored accent chair and planning your next furniture renovation project. Happy reupholstering!